This article is for Office 365 SharePoint Environment.
Before We Begin
- To install a custom app to your Office 365 tenant you will need SharePoint admin permissions. If you don’t have the admin permissions, please contact your SharePoint admin.
Navigate to your SharePoint app catalog site
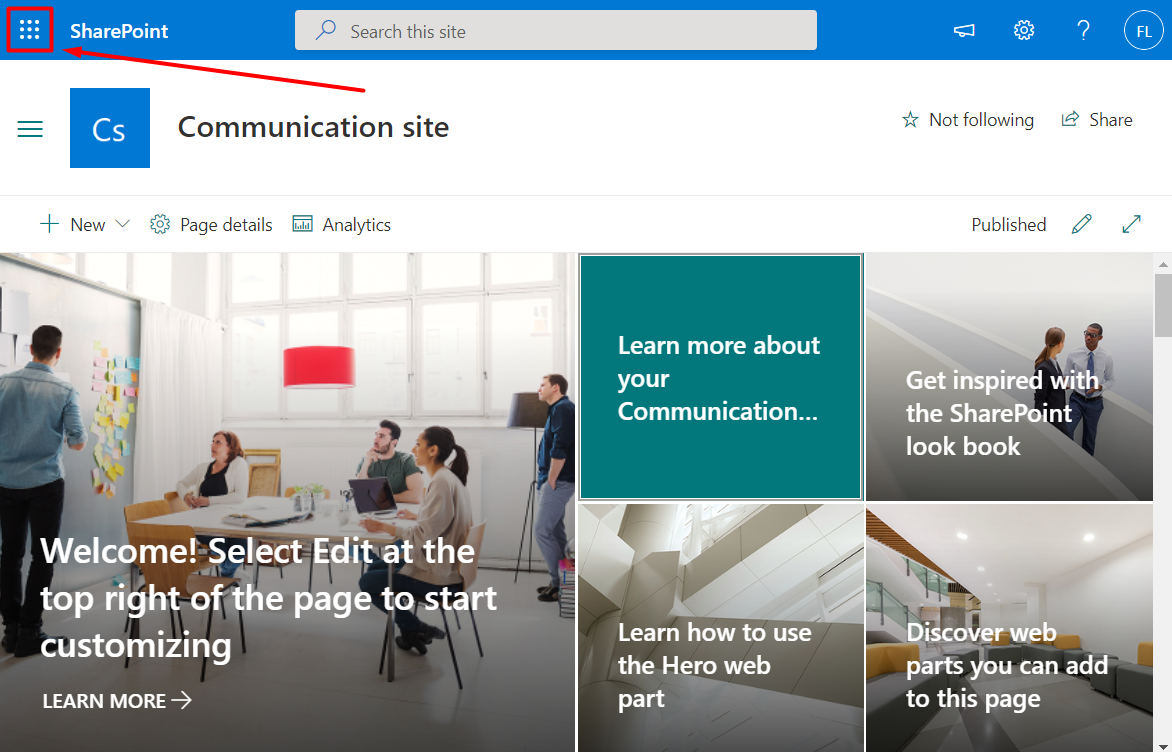
Step 1. Click the App Launcher Icon on the top left of your SharePoint Intranet site:
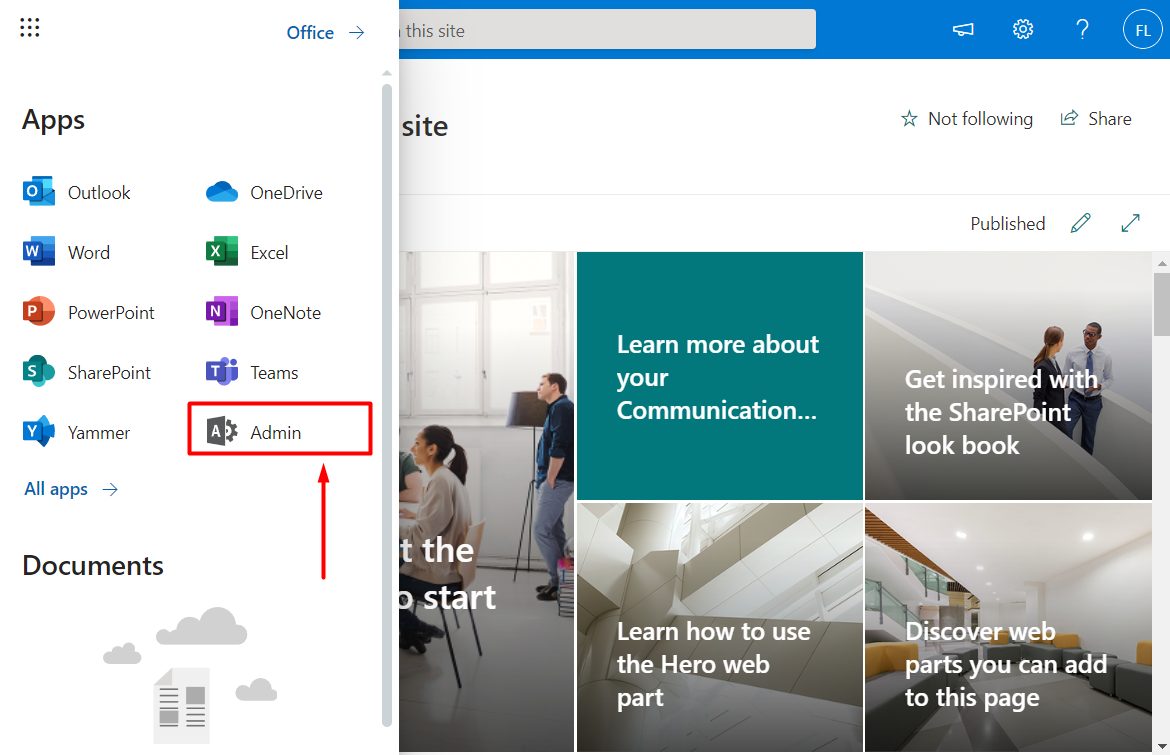
Step 2. Select Admin
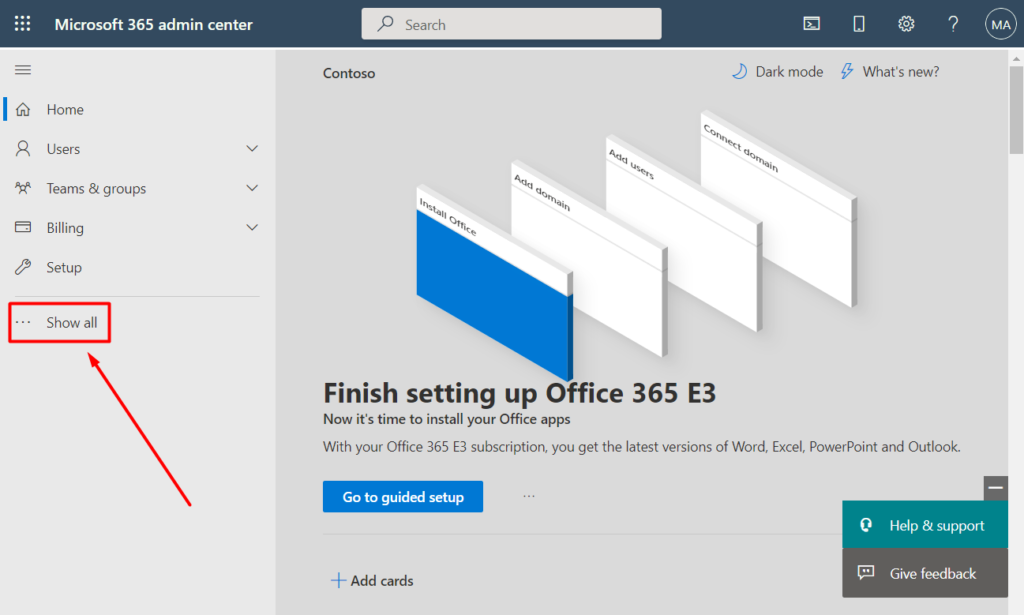
Step3. Click … Show all:
Step 4. Select SharePoint:

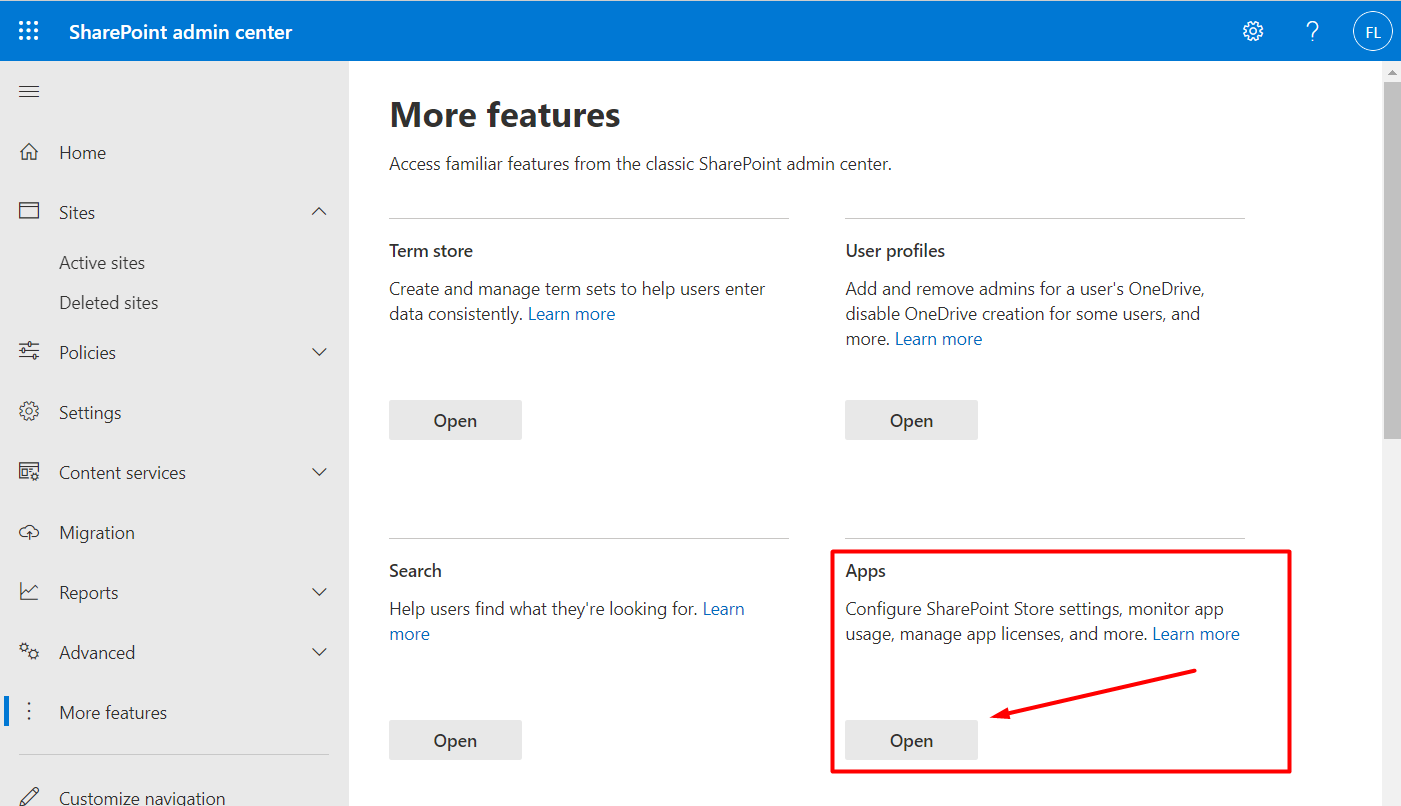
Step 5. Click More features:

Step 6. In the Apps section, click Open:
Step 7 If you have created an App Catalog before, you will see this:

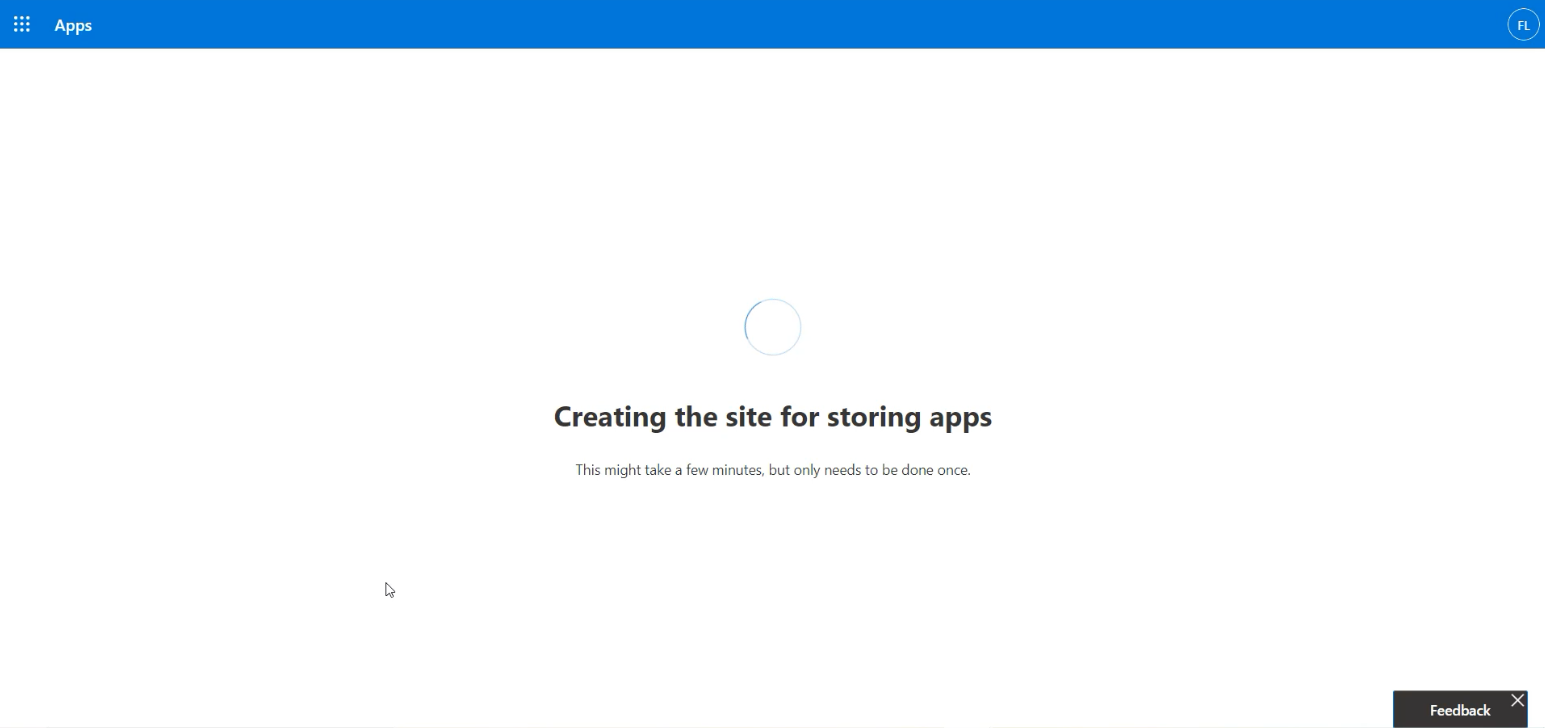
Otherwise, SharePoint will take a few minutes to create a new App Catalog for you:
Note: since May 2022, Microsoft has automated App Catalog creation in Office 365.However, if by any reason you see the old experience in your tenant, suggesting manual App Catalog setup, please check this article: Set Up the Tenant App Catalog in Office 365.
After it is done, you will see this. Click Got it:

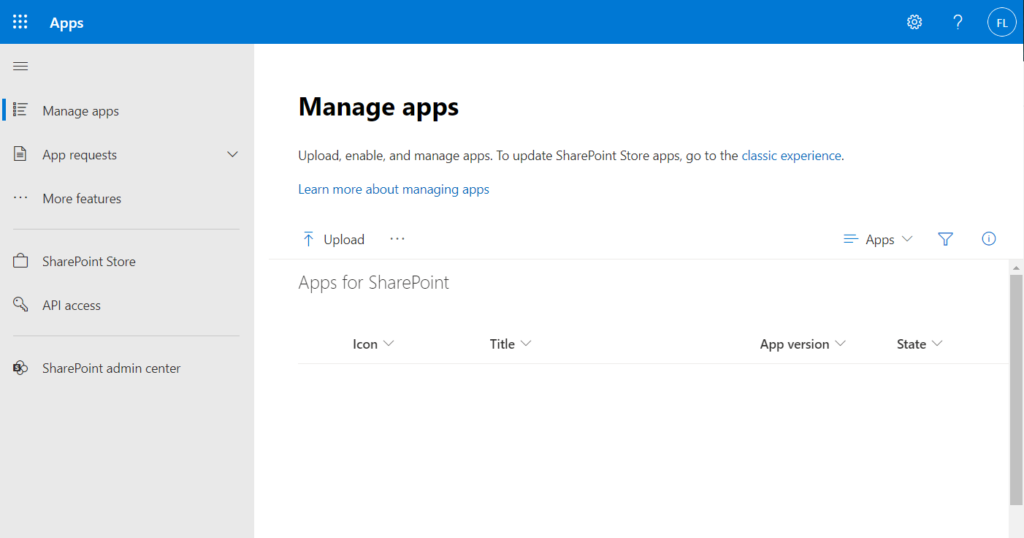
And finally, you will arrive at your freshly created App Catalog site:
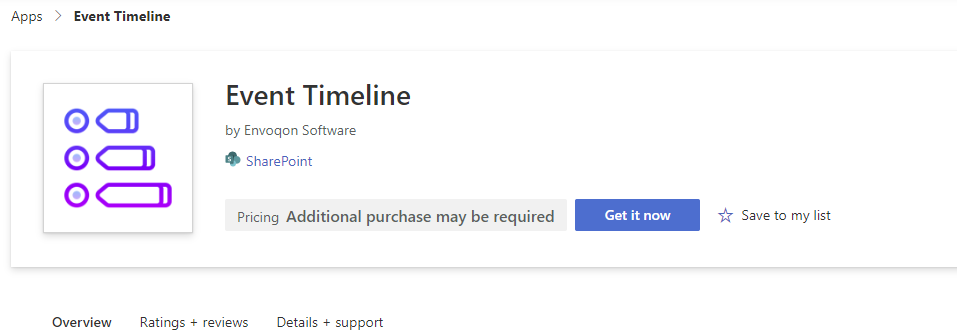
Install from SharePoint online Store
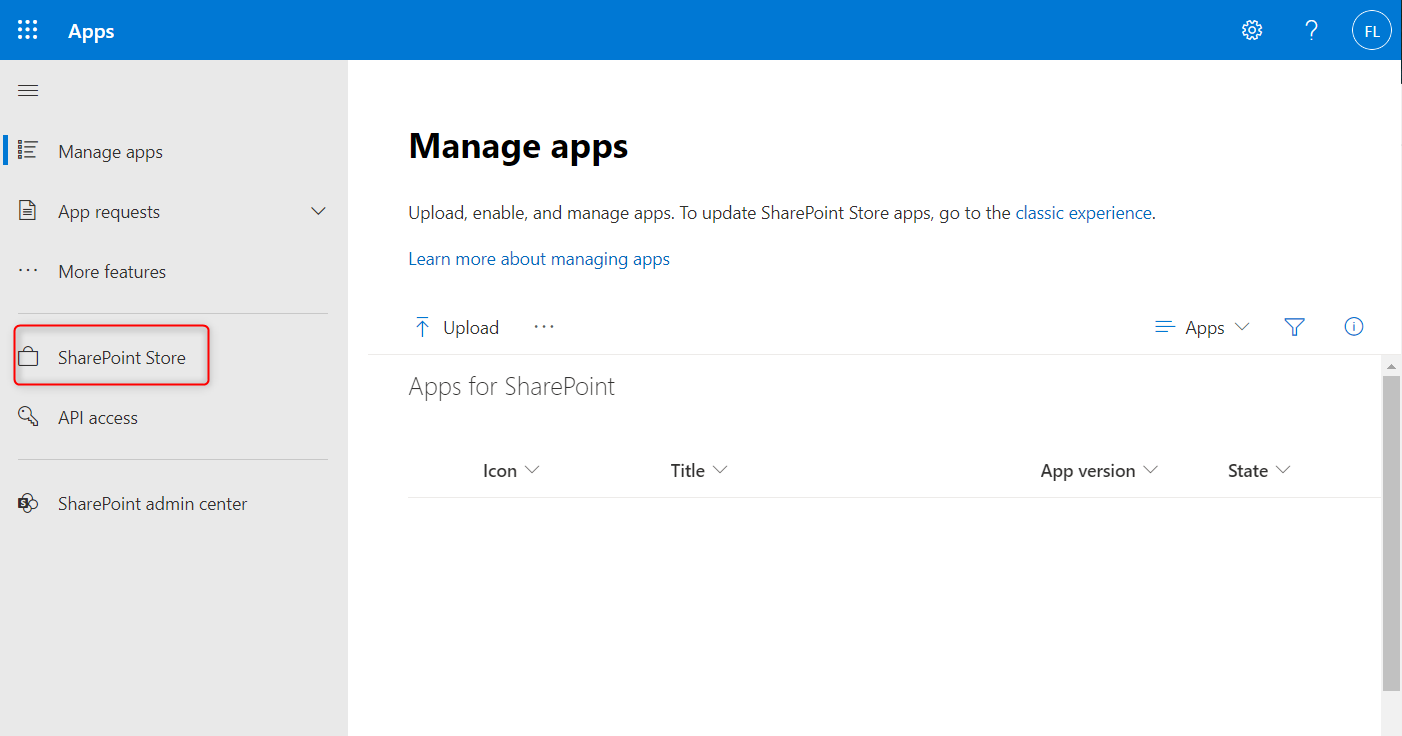
Step1: Click on the SharePoint Store link from the navigation bar on the right.
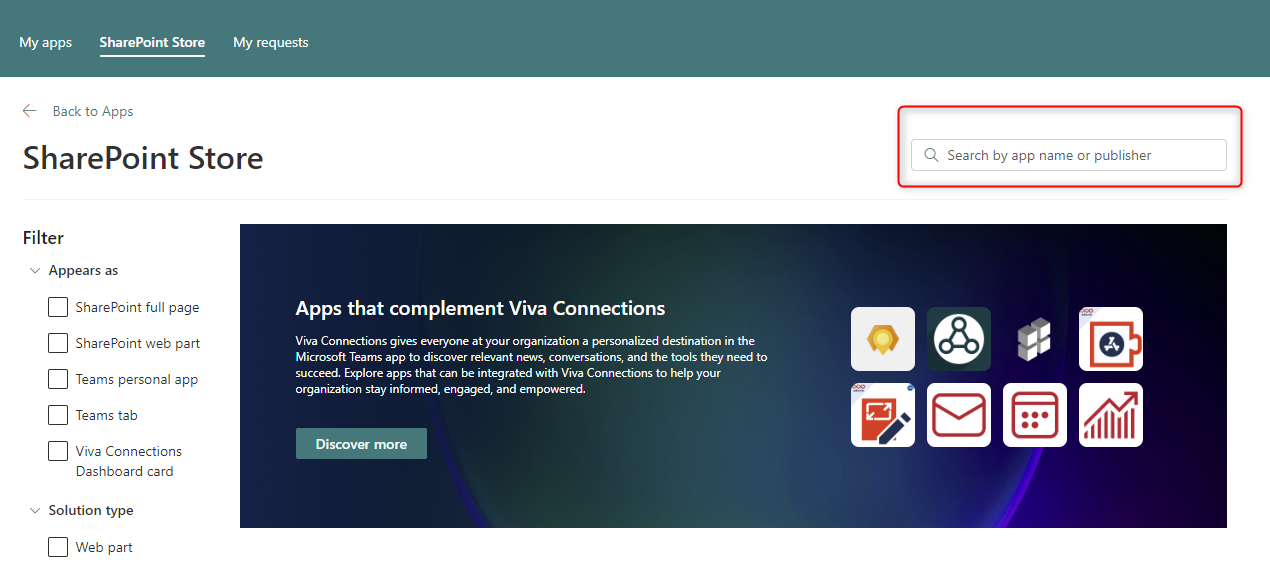
Step 2: Search for the app using the search field
Step 3: Click on Get it now and following the installation walk through.
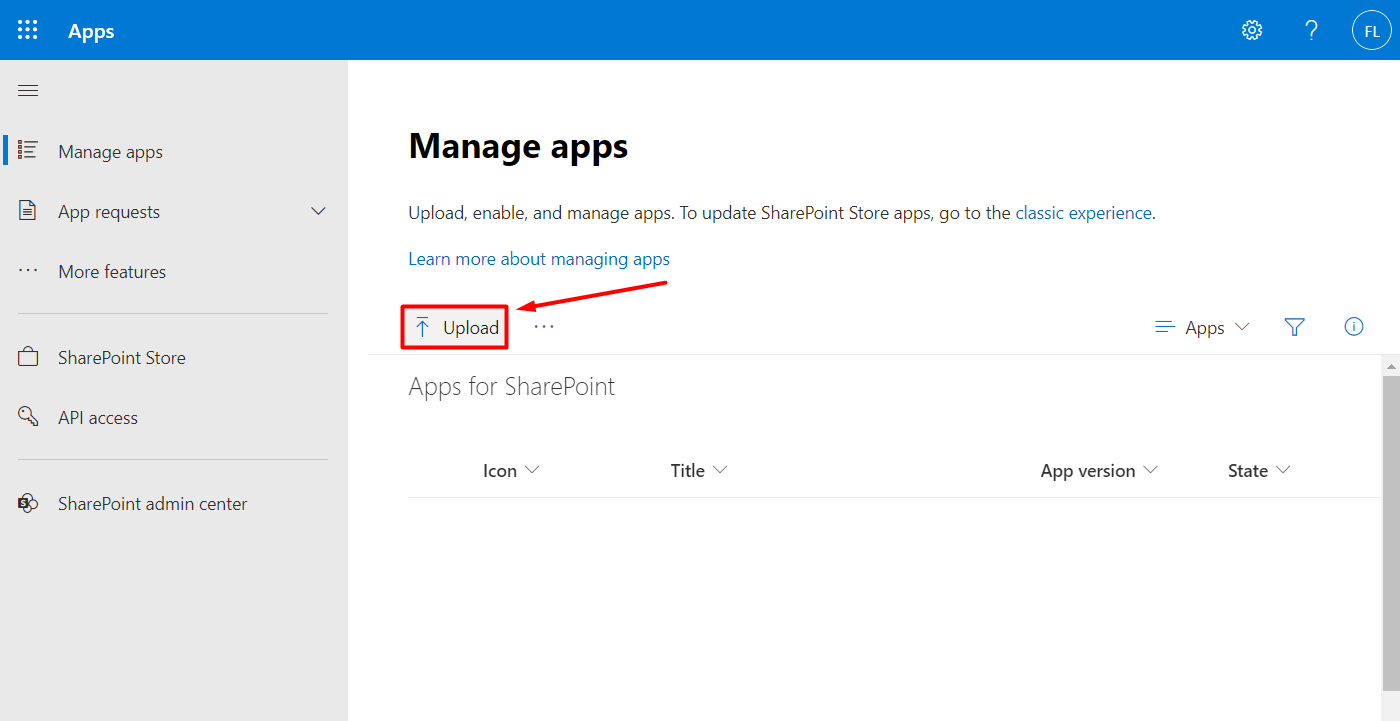
Upload SPFx to Tenant App Catalog in Office 365
Extract the content of the zip file you downloaded after purchasing the web part. You will be uploading the .spgk file.
Step 1: Click Upload. Then select the SPFx file.
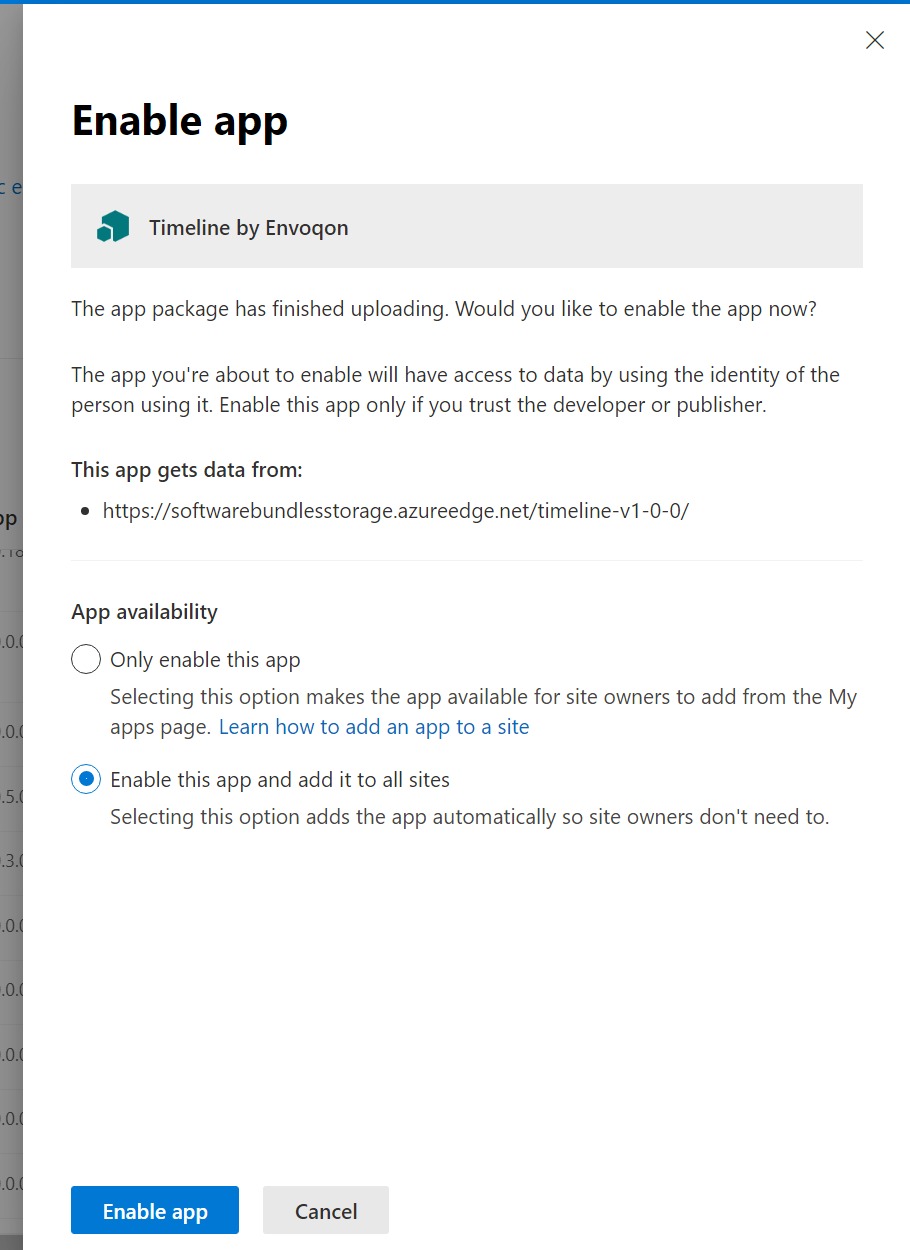
Step 2: Enable the installed app to add and use on all sites.
Add SPFx to SharePoint Modern Page in Office 365
- Go to the page where you want to add a web part.
- If you do not see the site page that you want, click Site contents on the Quick Launch bar, in the list of contents, click Site Pages, and then click the page that you want.
- If the page is not already in edit mode, click Edit at the top right of the page.
- Hover your mouse above or below an existing web part and you’ll see a line with a circled +, like this:

- Click + and you’ll see a list of web parts to choose from. To easily find the web part you’re looking for, start typing in the Search box.

Activate Licence
Click the Edit web part  icon, and in the toolbox on the right
- Licence Key – Enter the Licence Key you were given.